


 We made an apple pie to finish up A week, using apples that we got at the orchard! We used the pie recipe in the back of the book How to make an Apple Pie and See the World. We didn't go to Sri Lanka or France or anything like in the book, though. ;) We used our favorite crust recipe to make the crust and not the one in the book... I say "our favorite" loosely, as Caroline dislikes pie crust (crazy kid! How can one not like eating butter and flour?).
 Chris is the crust man lately... he does an awesome job getting the proportions just right and leaving the food processor on the right amount of time to make the crust ball up like it is supposed to do. I was feeling somewhat run down from my cold, so he helped out a lot this day so that we could make the pie, make pizza for dinner, vacuum... and I even got to take a nap! Thanks, Honey!
  Cecilia and Caroline used the A cookie cutter to cut the shape into the top layer of the rolled-out crust dough. The idea here is to transfer them to the top of the pie, making layered letter A's all over the pie as the top crust.
 Let's just say that this crust was not cooperative and perhaps a store-bought crust would be in order here in the future... we ended up actually making some A's by hand (Caroline rolled out "snakes" of dough and then shaped them into A's on the pie), as the cookie-cutter ones did not want to come up from the wax paper nicely and most of them tore up or looked pitifully not like the letter A. To get an idea of what the pie was really supposed to look like, click on some of these.
The girls had some fun rolling, shaping, and spatula-ing the scraps of crust dough.

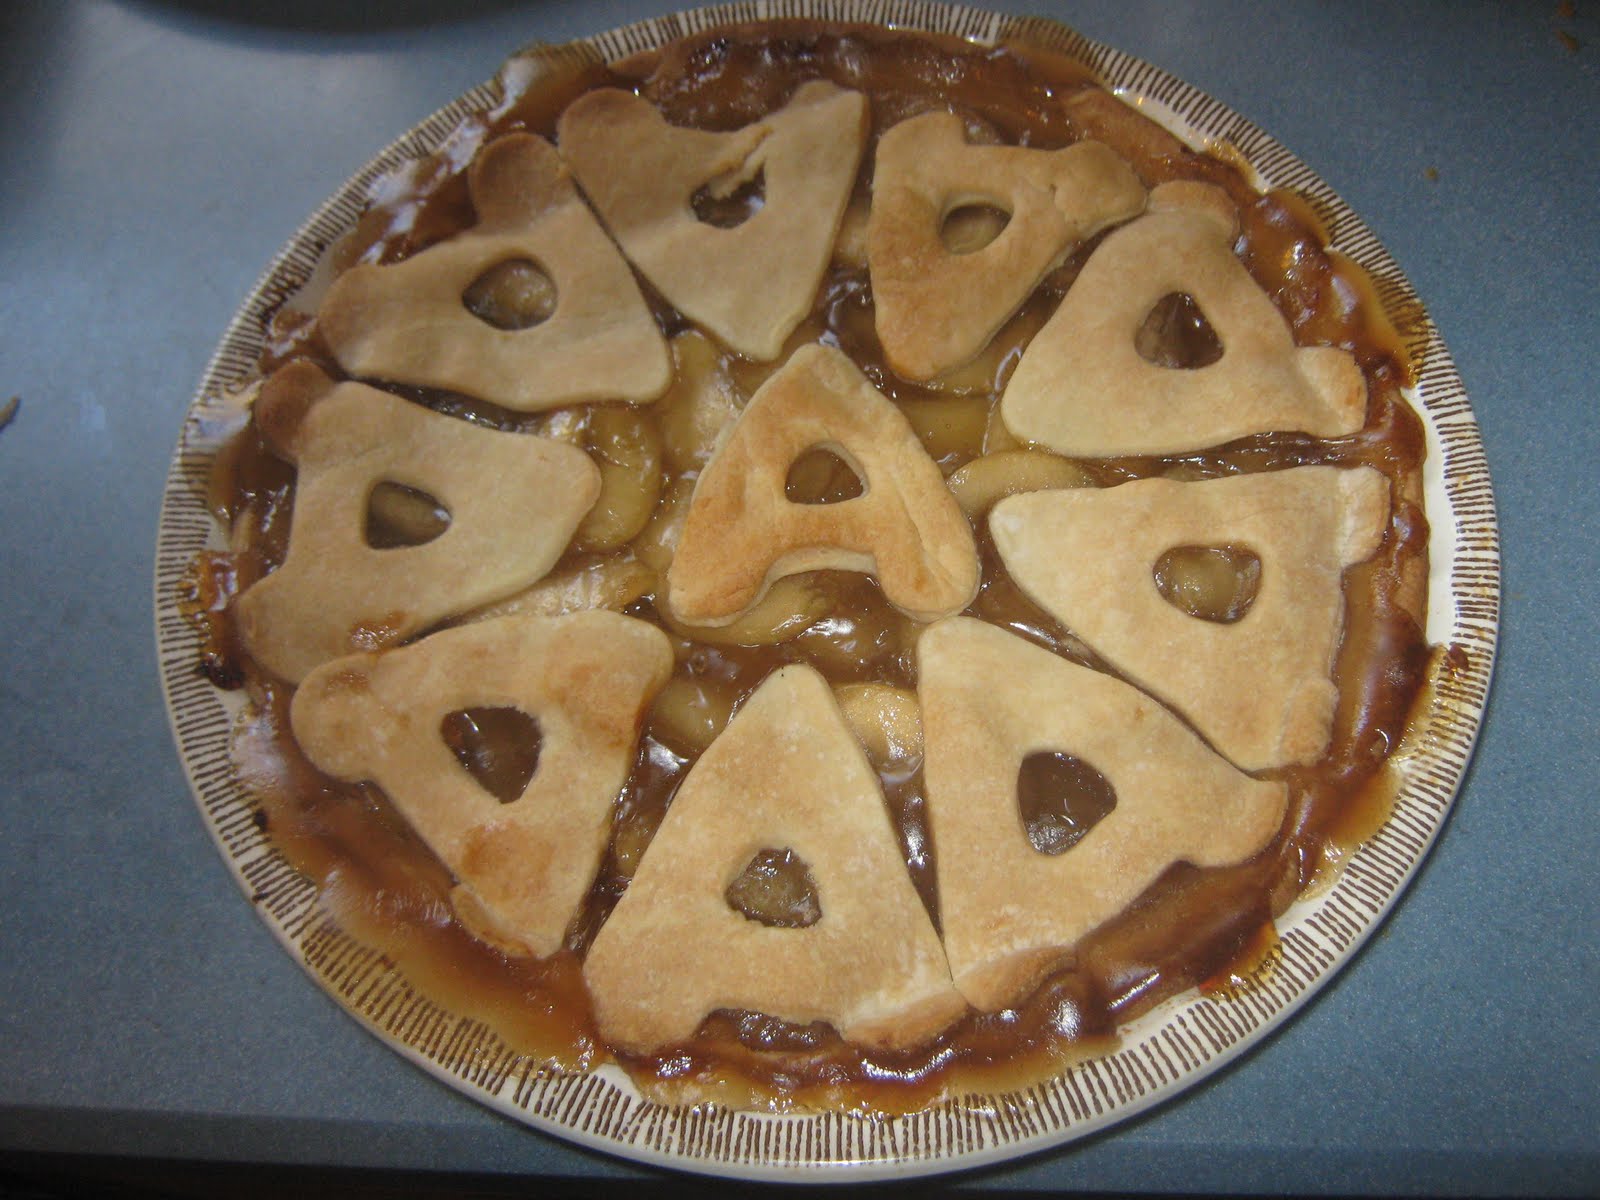
Here's the finished pie... ha! Betcha can't make out many A's, huh? ;)

Cecilia gave it one fork up.


